MR. JO Inject – LV : Low Viscosity Epoxy Injection Grout for General Concrete Repairs
MR. JO Inject – LV : Low Viscosity Epoxy Injection Grout for General Concrete Repairs
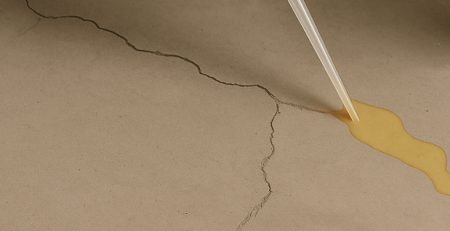
MR. JO Inject – LV is a two-component, solvent-free epoxy injection grout designed for general-purpose concrete repairs and structural crack filling. Its low viscosity allows it to penetrate deep into cracks, fissures, and voids, making it highly effective for restoring the strength, stability, and watertightness of damaged concrete.
Whether you’re dealing with structural cracks in walls, beams, slabs, or columns, Inject – LV offers a reliable, long-lasting solution that’s easy to apply and cures strong.
🔹 Key Features
✅Low Viscosity – Flows easily into narrow and deep cracks
✅Solvent-Free – Safe for indoor and enclosed use
✅Excellent Penetration & Bond Strength
✅Longer Pot Life – Offers extended working time for precision
✅Transparent/Translucent – Helps track flow during application
📦 Product Details
- Color: Pale yellow
- Mixing Ratio (PBW): 100:50 (Resin : Hardener)
- Pot Life @25°C: 100–120 minutes
- Mixture Consistency: Low viscosity liquid
- Optics: Transparent / Translucent
🧪 Why Choose MR. JO Inject – LV?
Most concrete structures develop cracks over time due to shrinkage, movement, or structural stress. If left untreated, these can lead to water seepage, corrosion of steel reinforcement, and structural degradation.
MR. JO Inject – LV allows engineers and contractors to arrest these problems at their roots. It bonds strongly to concrete, restoring monolithic integrity without major breakage or demolition.
🛠️ Applications
- Injection of structural and non-structural cracks in RCC elements
- Repair of damaged beams, columns, foundations, slabs, or walls
- Sealing of fine to medium cracks
- Restoration of load-bearing capacity
- Ideal for tanks, bridges, industrial floors, and parking decks
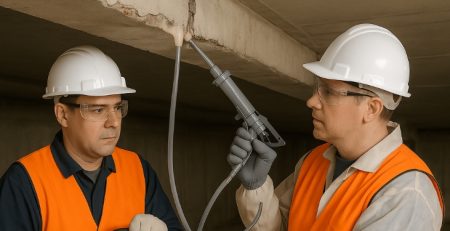
🧰 Step-by-Step Application Guide
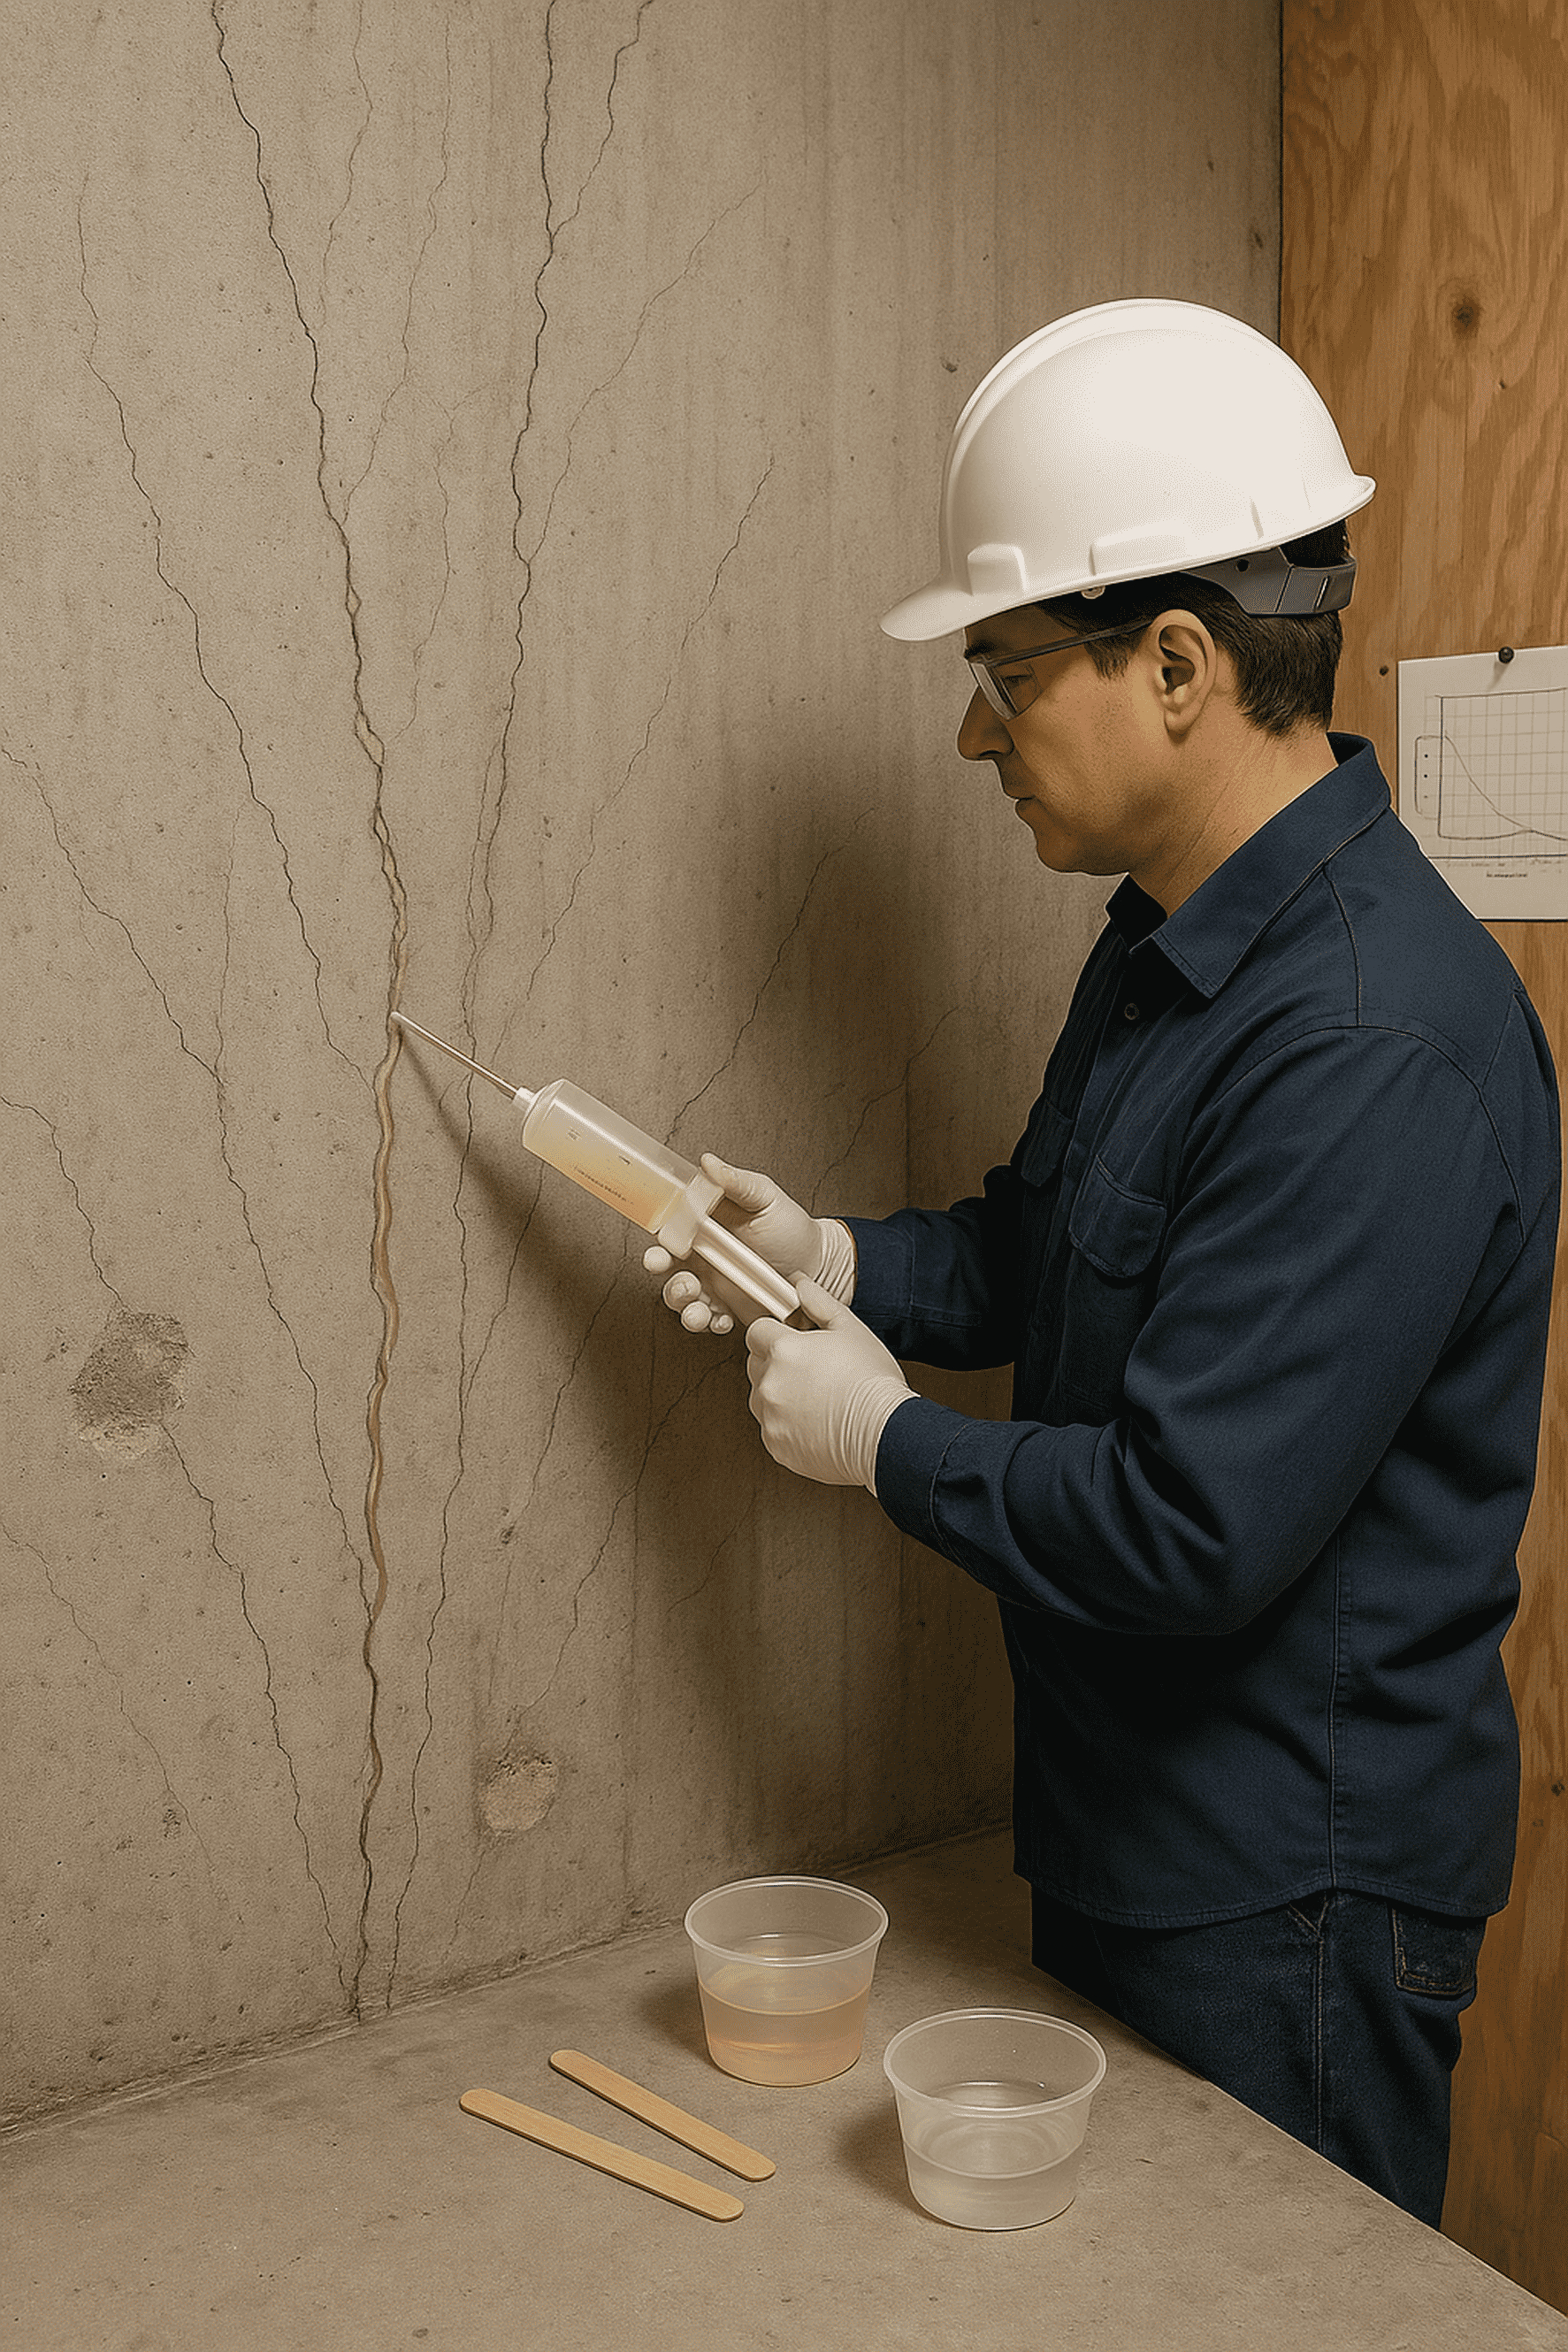
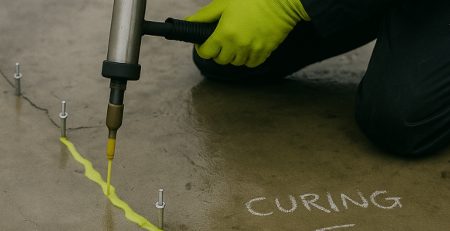
- Crack Preparation
- Cut a V-groove (approx. 10×10 mm) along the visible crack.
- Clean surface thoroughly with compressed air — ensure it’s dry and dust-free.
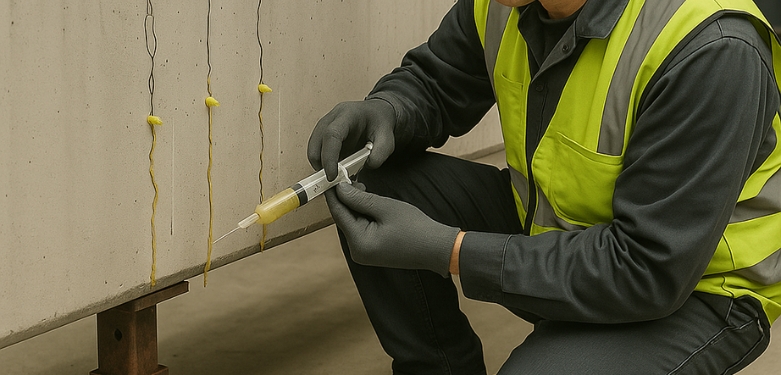
- Nipple Fixing
- Drill injection holes at 15–30 cm intervals, depending on crack depth.
- Insert 6 mm x 150 mm nipples using epoxy putty.
- Sealing
- Seal the entire crack line with epoxy putty after nipple placement.
- Allow to cure for at least 24 hours before injecting.
- Pre-Injection Check
- Use compressed air to check flow through all injection ports.
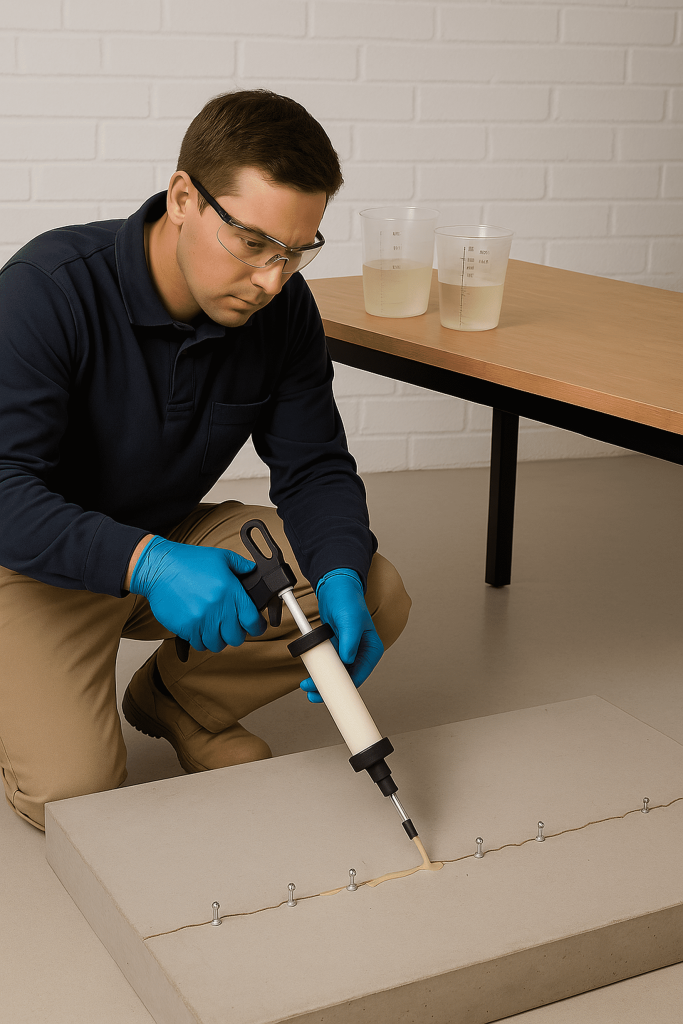
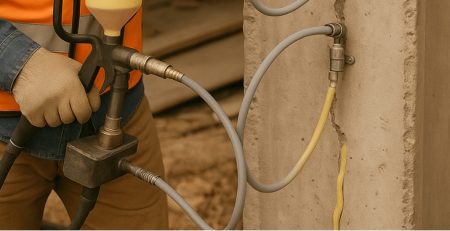
- Injection
- Use manual or electric pump, injecting at 50–100 psi pressure.
- Start from lowest point and proceed upwards until epoxy flows from next nipple.
- Finishing
- Once cured, nipples may be removed or ground flush to the surface.
Optionally finish with a protective or aesthetic topcoat.
⚠️ Precautions & Handling
- Use personal protective equipment (gloves, goggles) during mixing and application.
- Never add solvents or thinners.
- Mix resin and hardener thoroughly before use.
- Do not apply to actively leaking cracks — seal first.
- Clean equipment immediately with an epoxy-safe cleaner.
🧠 Best Practices
- For crack widths >0.5 mm, MR. JO Inject – LV is ideal.
- For hairline or micro cracks, consider MR. JO Inject – VL.
- For wet or damp surfaces, use MR. JO Inject – UPS.
- For medium-thickness cracks with high strength requirement, MR. JO Inject – MV may be more suitable.
MR. JO Inject – LV is your go-to choice for routine structural crack repair in dry or ambient environments. With excellent bonding, deep penetration, and long pot life, it provides long-term protection and structural stability with minimal downtime.
Leave a Reply